Vast Repo and Vast Client Installation
This section describes the steps to build the Vast repository and install the Vast client on the cluster nodes.
Note
The Vast repository must be hosted on an HTTP server (such as Apache) before it can be used as a user repository in Omnia.
VAST Storage Prerequisites
Configure the following settings on the VAST Storage appliance before building the Vast repository:
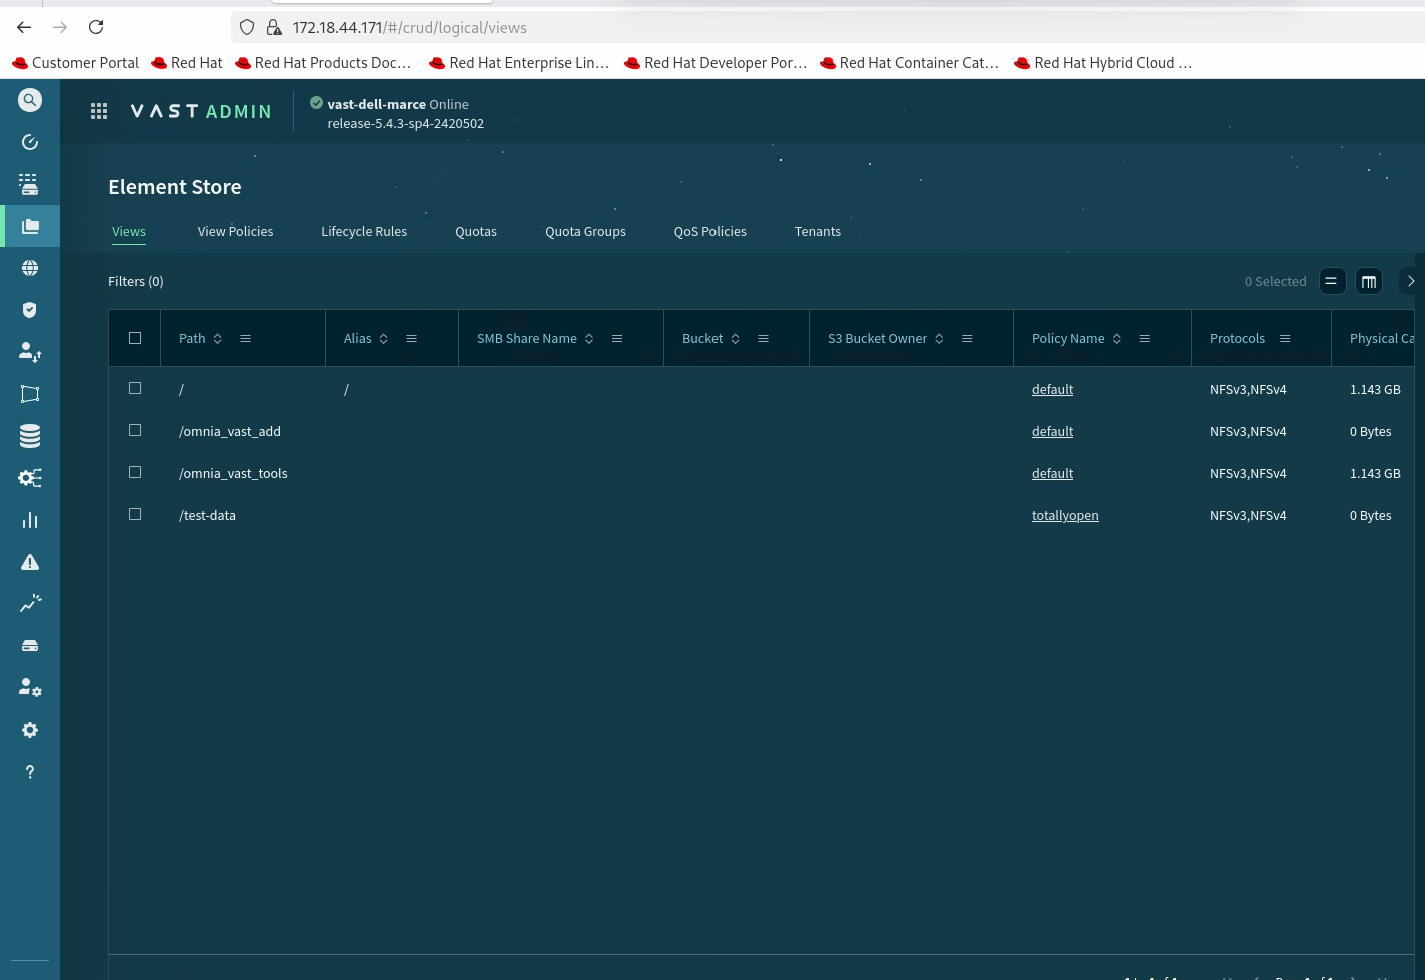
Login to VAST Dashboard
Login to the VAST dashboard and click on Element Store.
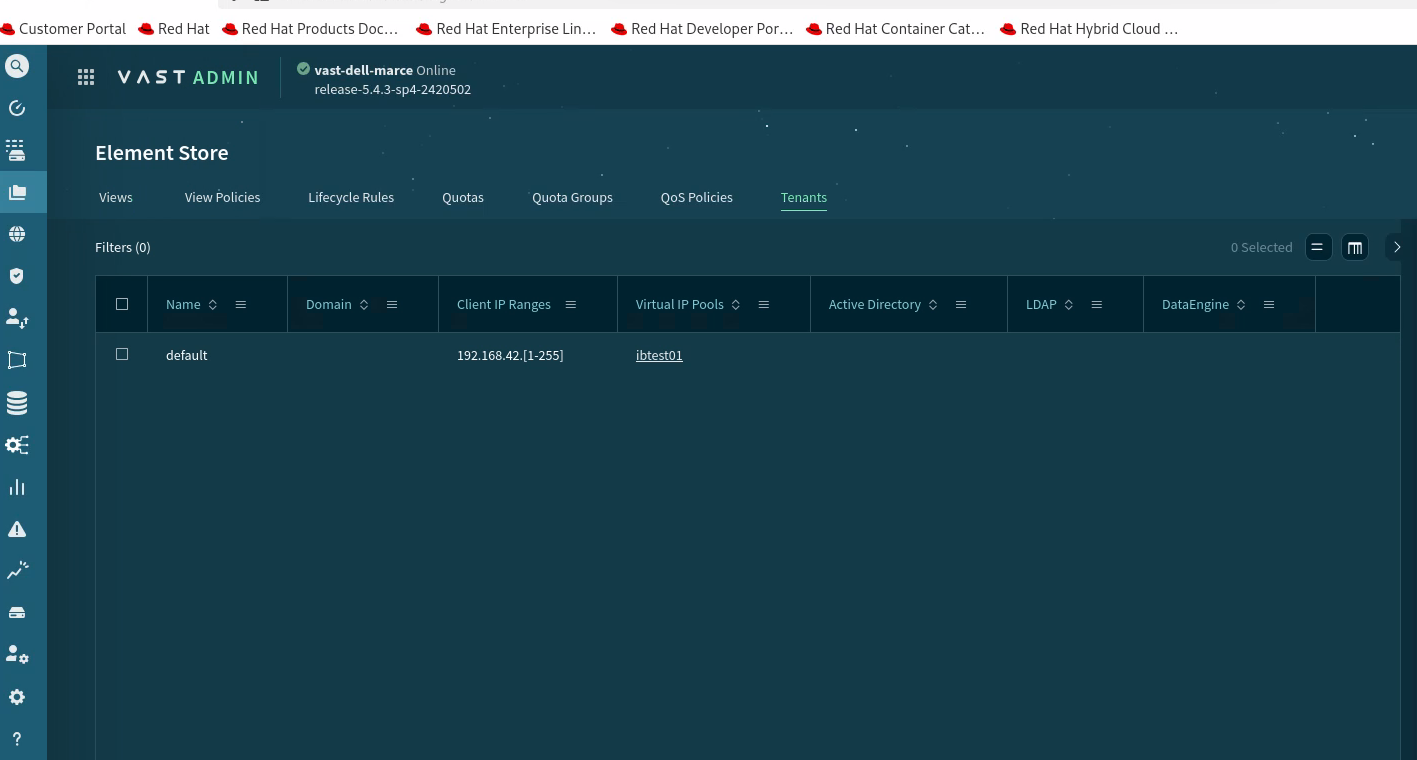
Configure Tenant
Ensure that the tenant is configured on the VAST Storage appliance.
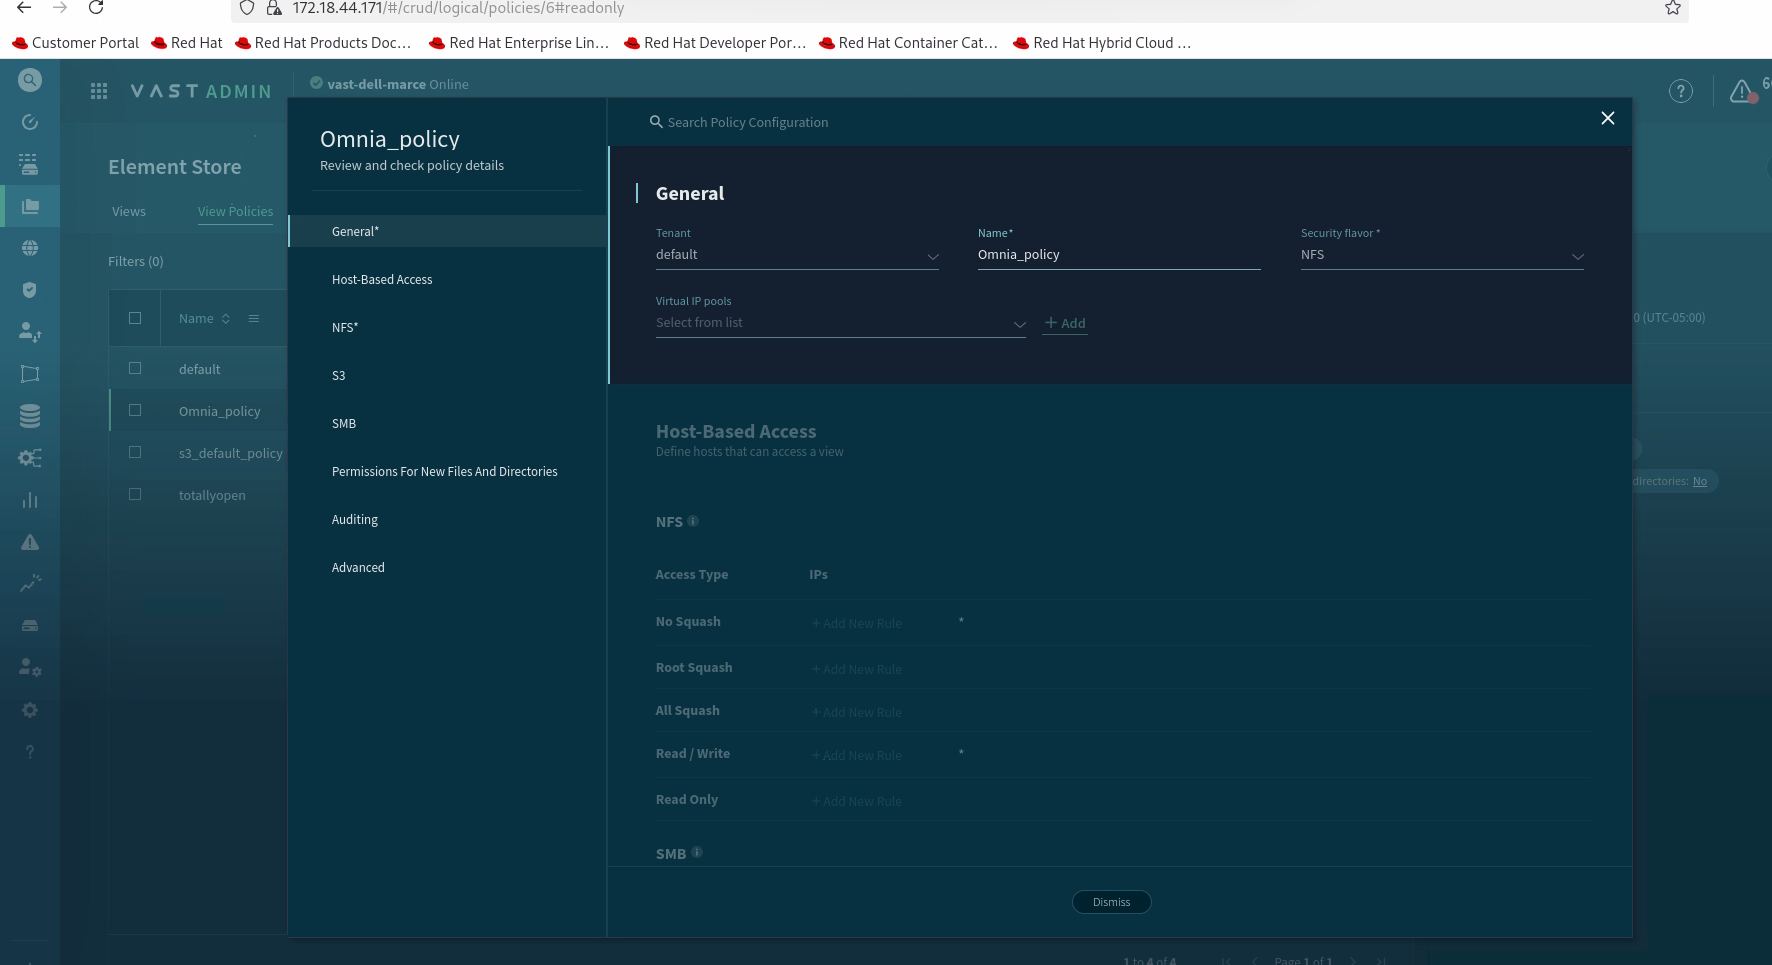
Configure Policies
Ensure that the policies are configured.
Create New Configuration
Right-click on the empty space and the Create option will appear.
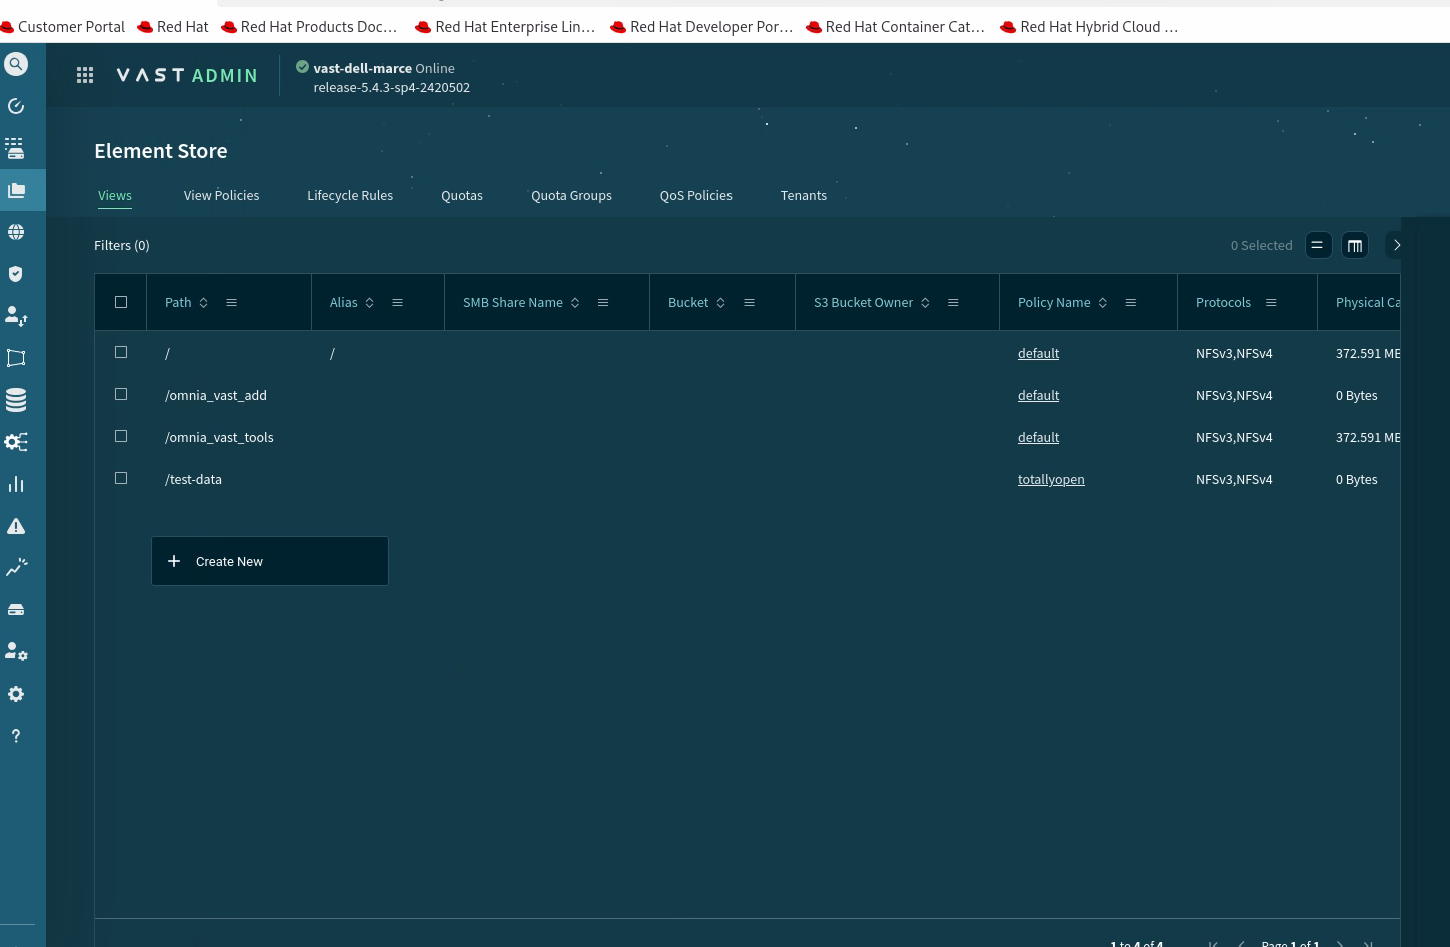
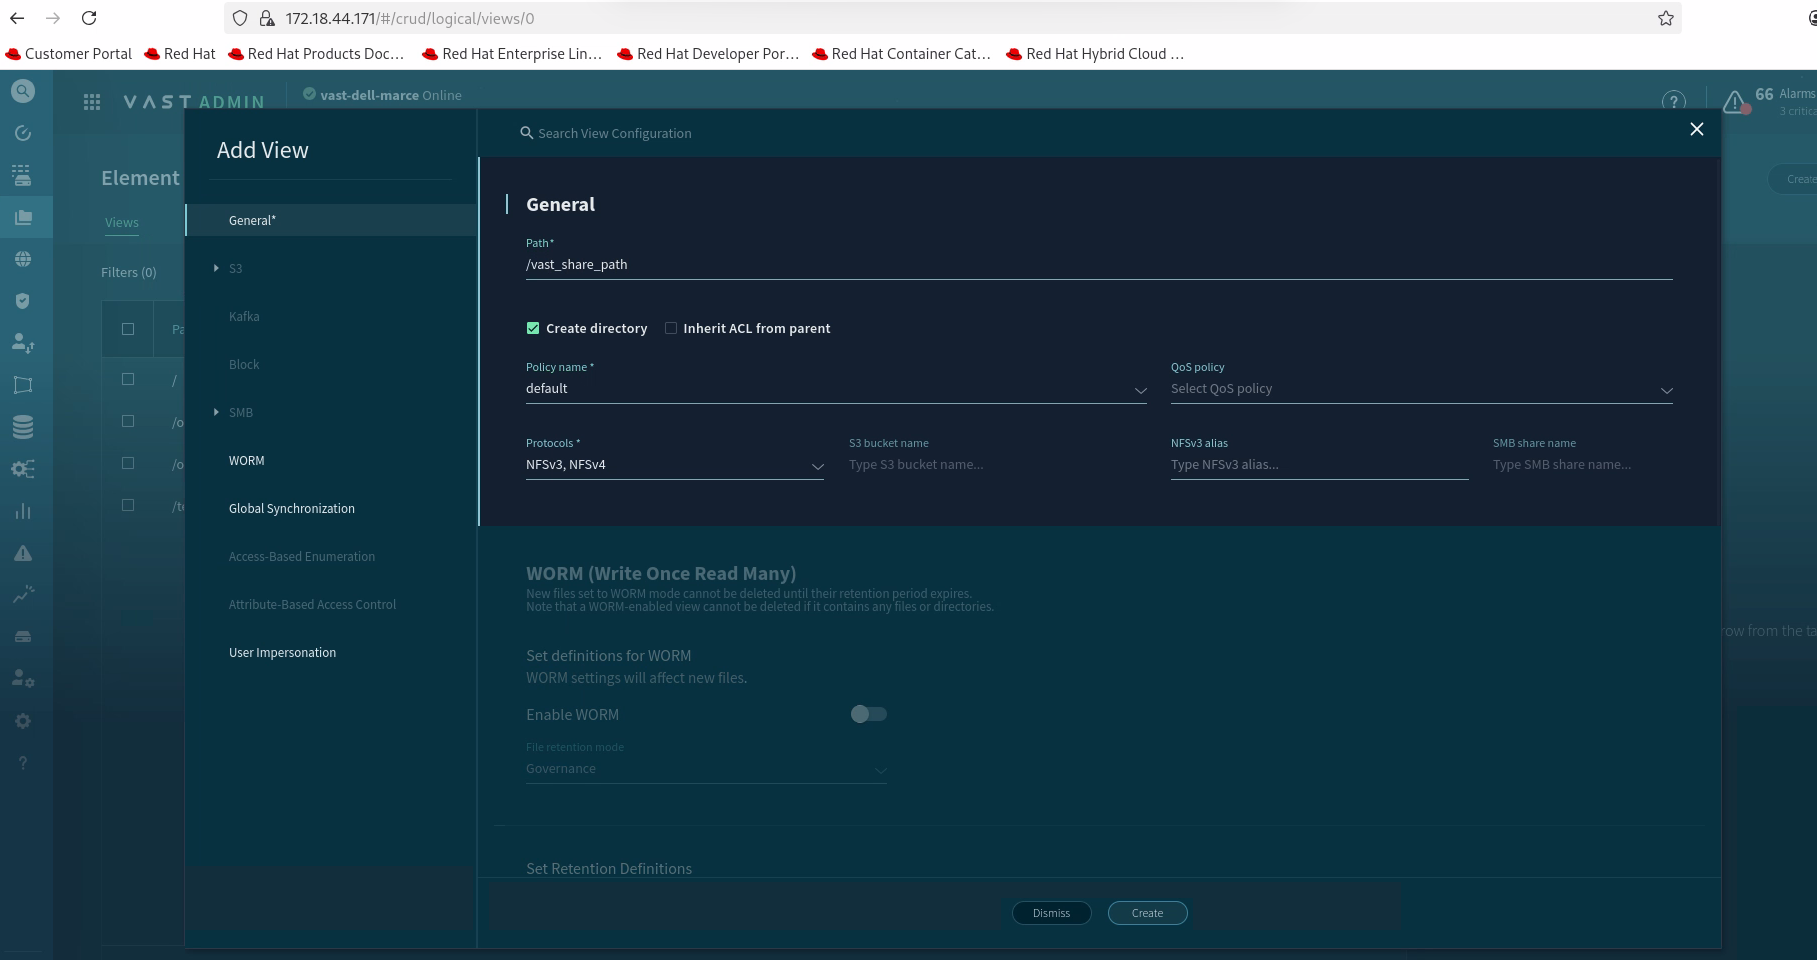
Click on the Create button to complete the configuration.
Step 1: Download Vast
Download the Vast package using the following command:
curl -sSf https://vast-nfs.s3.amazonaws.com/download.sh | bash -s -- --version 4.5.5
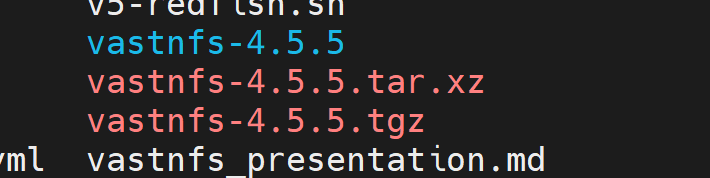
Step 2: Extract the Package
Extract the downloaded tarball:
tar -xf vastnfs-4.5.5.tar.xz vastnfs-4.5.5/

Step 3: Build the Vast Repository
Navigate to the extracted directory and build the repository:
cd vastnfs-4.5.5/
./build.sh bin

Once the build is complete, you will see a message indicating that the RPM files have been created and are ready to be hosted as a user repository.

The Vast RPMs will be located in the dist/ directory within vastnfs-4.5.5/.

========== Vast repo build completed ==========
Step 4: Host the RPMs on an HTTP Server
Host the RPMs on an HTTP server (such as Apache) or any other server that will serve as your user repository.
For example, you can use the OIM as an HTTP server. Follow the steps provided in the documentation for hosting Slurm repositories on the Apache server (refer to Host the RPMS on the Apache server).

========== Vast rpms hosted for user_Repo ==========
Step 5: Configure the User Repository in local_repo_config.yml
Add the user repository URL to the local_repo_config.yml file.
Step 6: Run Omnia Playbooks
Run the following playbooks in order:
local_repoplaybookbuild_imageplaybookprovisionplaybook
The Vast client will be installed on the nodes successfully after the provision playbook completes.
If you have any feedback about Omnia documentation, please reach out at omnia.readme@dell.com.