Step 5: Update Catalog and Execute Omnia BuildStreaM Pipeline
Update the catalog_rhel.json file and monitor pipeline execution through GitLab. This procedure covers catalog modifications, automatic pipeline triggering, and verification of pipeline status and job execution.
Prerequisites
Before updating catalogs and checking pipelines:
Deploy and Configure BuildStreaM Container on OIM Node (see Step 3: Prepare the Omnia Infrastructure Manager)
GitLab deployment for BuildStreaM is completed (see Step 4: Deploy GitLab for BuildStreaM Integration: Automated Pipeline Execution and Build Monitoring)
Confirm that you can access GitLab project repository
Procedure
Go to the GitLab project URL:
https://<gitlab_host>:<gitlab_https_port>/root/<gitlab_project_name>
Go to Code → Repository.
Locate the catalog file
catalog_rhel.json.Modify the
catalog_rhel.jsonfile to define your build requirements.
Note
Ensure that the catalog file is updated with valid functional group names, architecture types, operating system types and versions, and package types. The pipeline fails if invalid details are provided.
- The following are the supported values:
Functional group names: For supported functional group names, see Functional Groups.
Architecture type:
x86_64andaarch64.OS type:
RHEL, see supported OS types and versions.OS version:
10.0, see supported OS types and versions.Package types:
rpm,rpm_repo,image,iso,tarball,pip_module,git,manifest.
To trigger the pipeline, commit and push catalog changes.
Note
Currently, BuildStream supports only one catalog file and one pipeline trigger. BuildStream pipeline behaviour is controlled by the GitLab CI/CD configuration in your environment.
Each pipeline processes the catalog changes independently and builds the specified images according to the catalog requirements.
The following image shows the BuildStreaM pipeline is currently running and the stages are being executed:
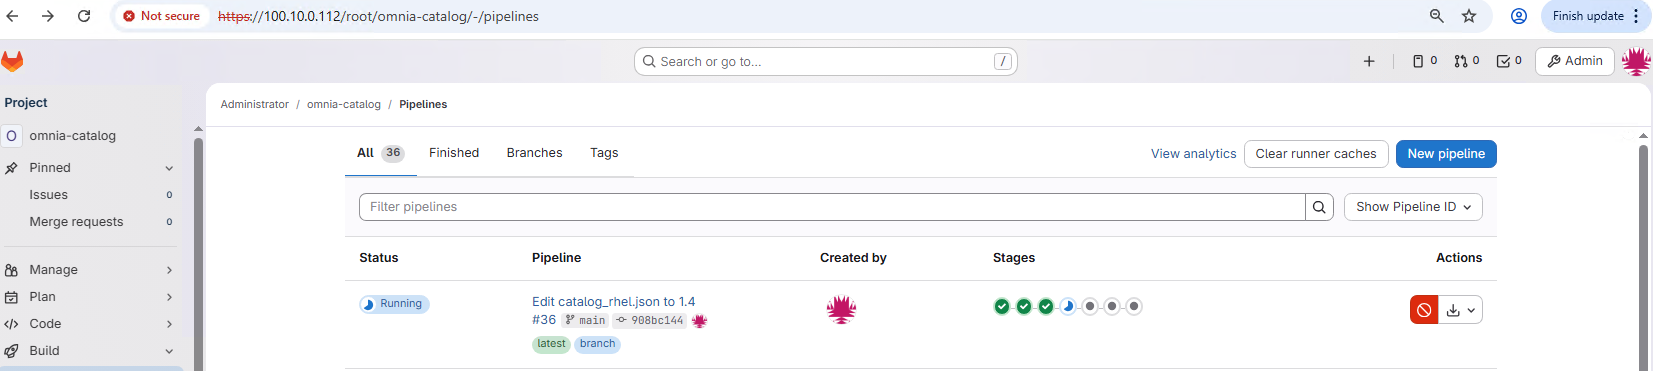
Perform the following steps to track the pipeline progress through the GitLab web interface:
Navigate to Build → Pipeline.
Click on the running pipeline to view details.
- Monitor each stage as it progresses:
initialization: Sets up the build environment.
parse-catalog: Parses catalog file for build requirements.
generate-input-files: Generates input files for build.
configure-local-repository: Configures local repository for artifacts.
build-images: Builds the specified images.
deploy-and-validate: Discovers the nodes on which the images need to be deployed.
summary: Generates summary of pipeline execution.
- The following image shows each stage of the BuildStreaM pipeline and its status:

- Expected pipeline status indicators:
 Green checkmark: Stage completed successfully
 Red X: Stage failed (click for error details)
 Blue circle: Stage currently running
- The following image shows overall pipeline status:
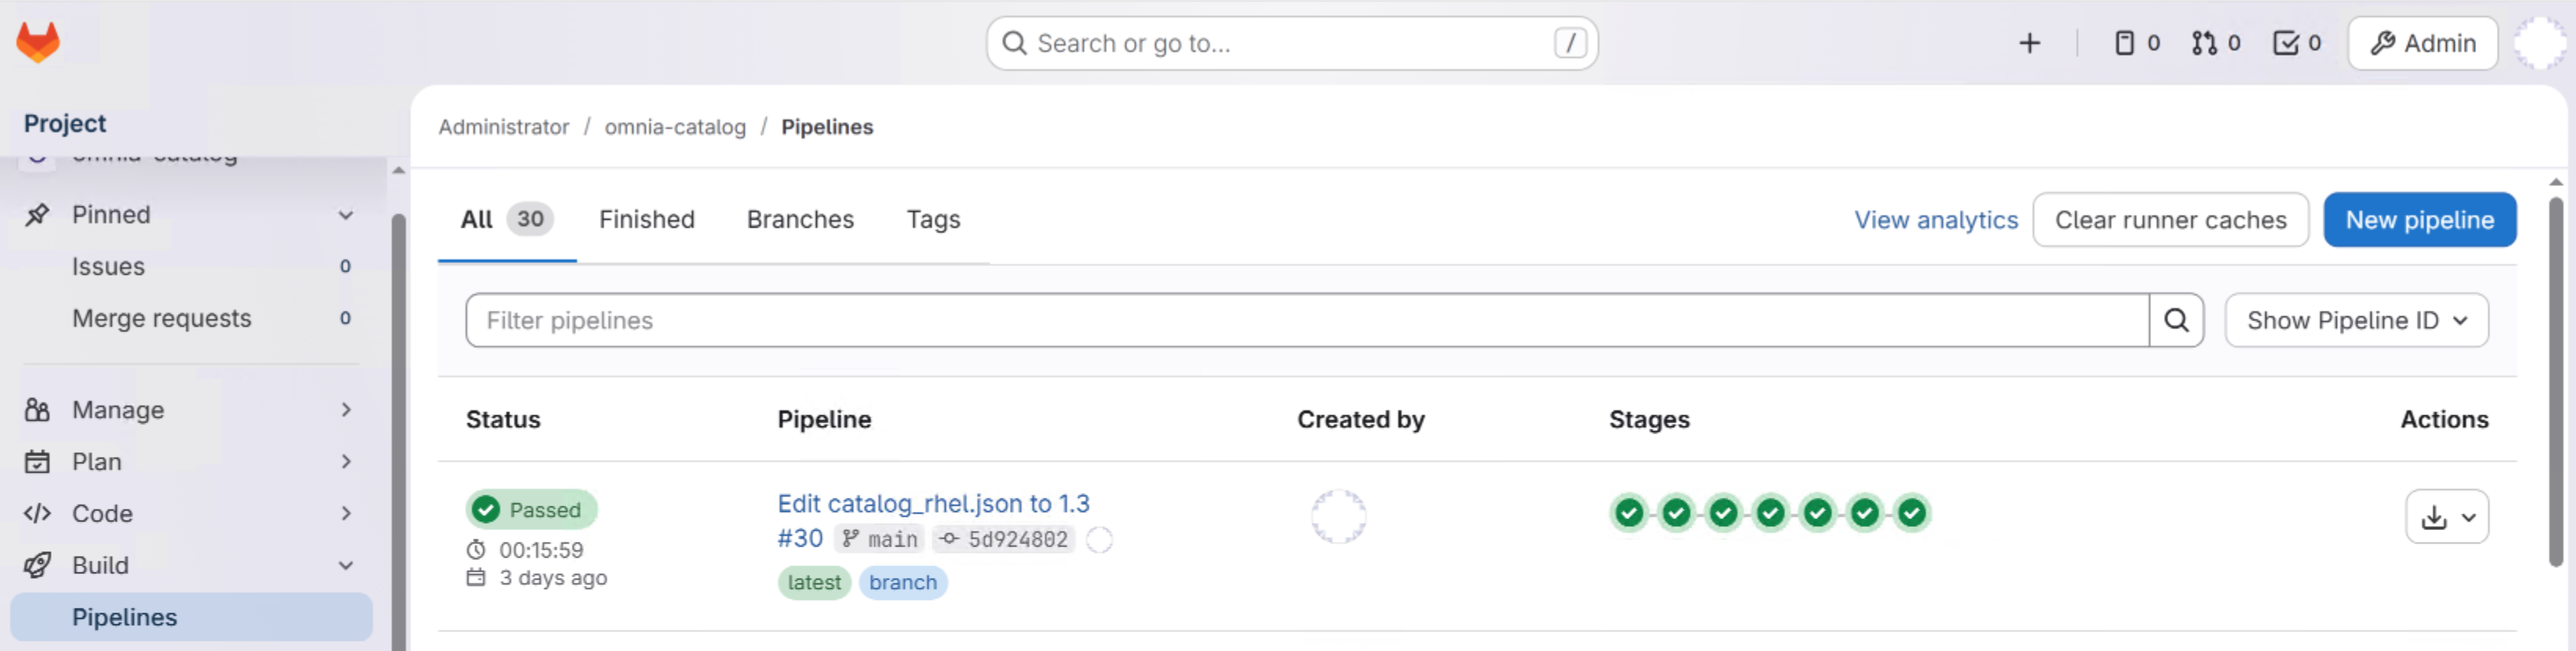
Verification
After the pipeline is completed, you can check the overall pipeline status and job execution.
Navigate to Build → Pipelines
Review the job list and status.
- Click on individual jobs to view:
Execution logs
Resource usage
Error messages (if any)
Next Steps
After successful execution of the pipeline, do one of the following:
Manually PXE boot the nodes to deploy the images.
Use the PXE boot utility to deploy the images. See Step 6: PXE Boot the Nodes Using the PXE Boot Utility for detailed instructions.
If you have any feedback about Omnia documentation, please reach out at omnia.readme@dell.com.